3D Printed Pool Bridges
Standalone pool bridges intented for 1‑handed players
My father suffered from a severe stroke in 2008, which left him paralyzed on the left side of his body. Through countless hours of therapy, he regained his ability to walk, however, his arm remained paralyzed. When we got a pool table, I wanted an easy way for him to play pool with one hand and was surprised to see that there were no standalone bridges. Luckily, 3D printing started to boom and I experimented with several different bridges by creating them in Blender and printing them through a 3D printing website. Now he can play pool with all of us and he actually pretty accurate!
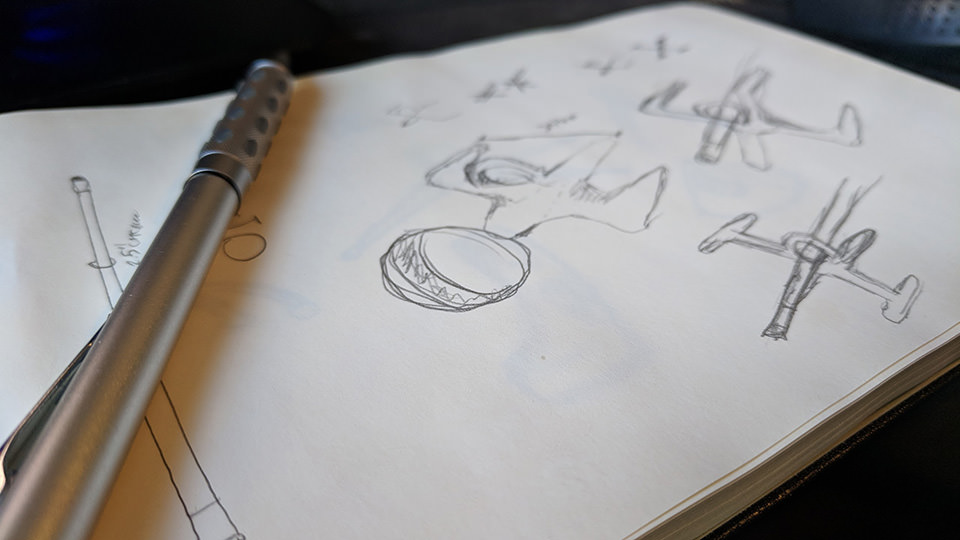
Conceptualizing the Challenge
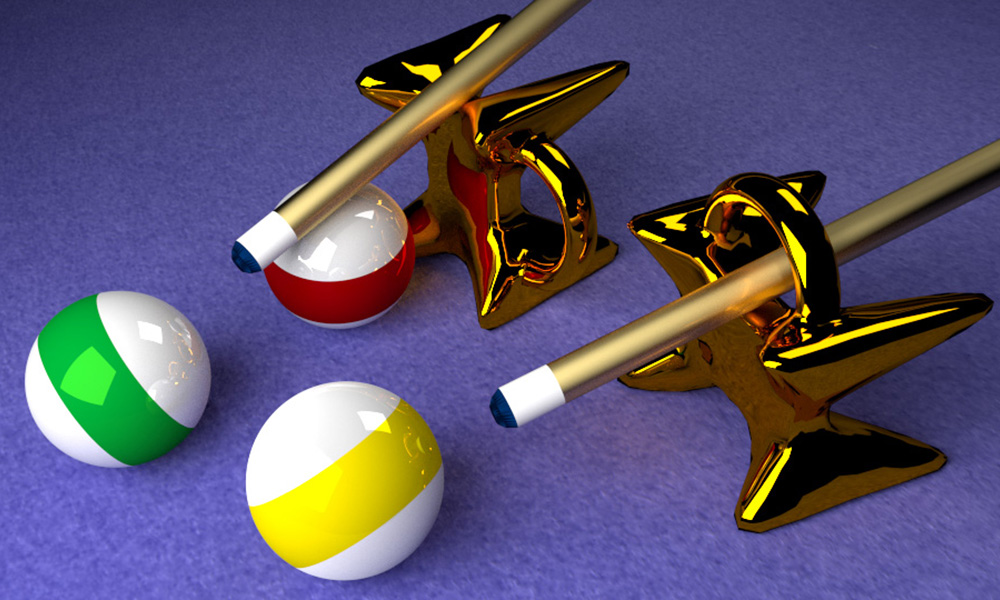
Most bridges are and X shape or have some mechanism to allow players to shoot in almost any situation. I wanted to bring that same functionality with my design so that my dad had as much of an advantage as possible.
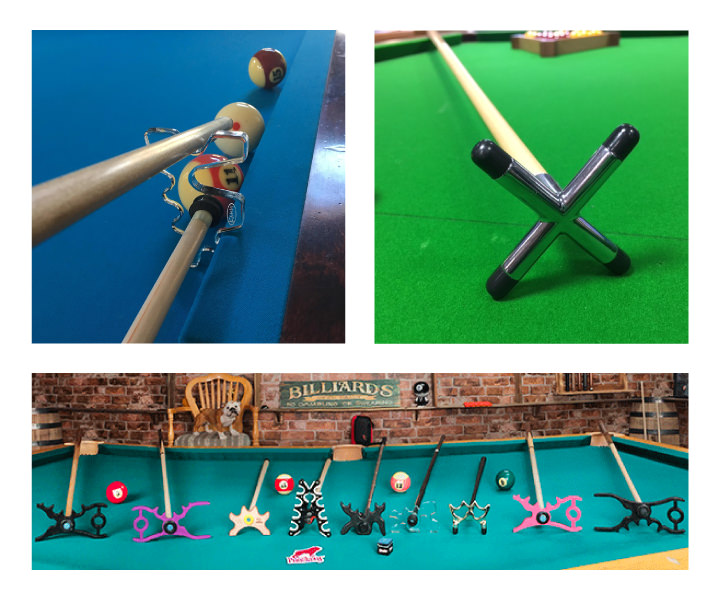
Pool Bridge Examples
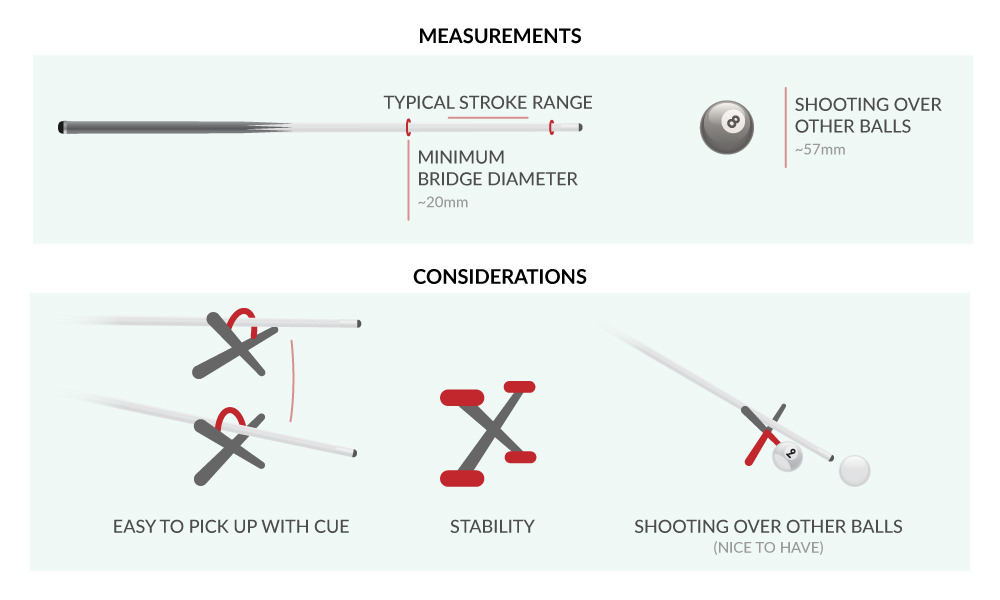
Measurements and Considerations
There were three major components that I was considering going into this project:
- How will my dad pick up the bridge after he shoots (and not fall all the way down his cue)?
- How can I ensure that the bridge doesn’t move when he’s shooting?
- Will he need to be able to shoot over another ball?
Rendering and Printing
It was exciting to know that I could explore an idea and have a functional prototype in my hands in a matter of weeks. I created 5 renders and printed a total of 4 prototypes using a hard plastic.
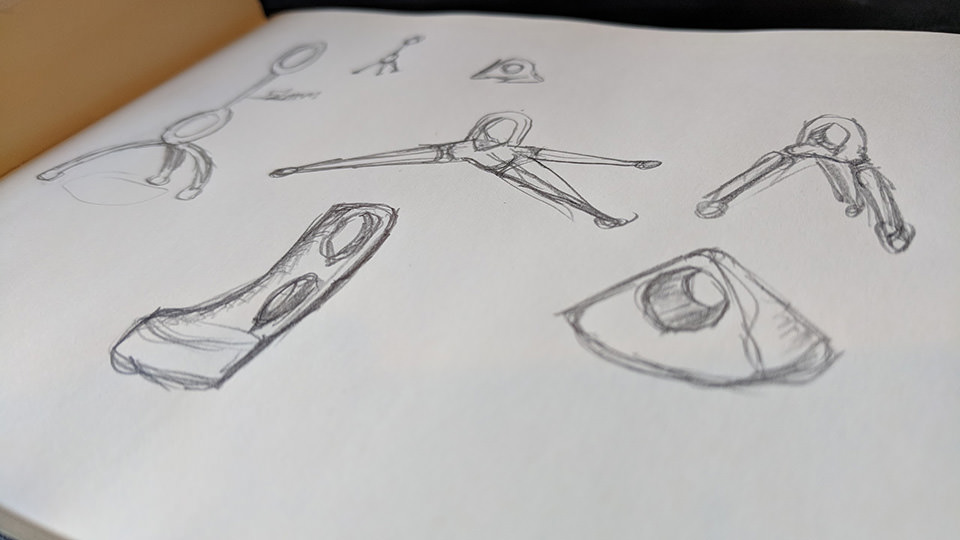
V1: Acrobat
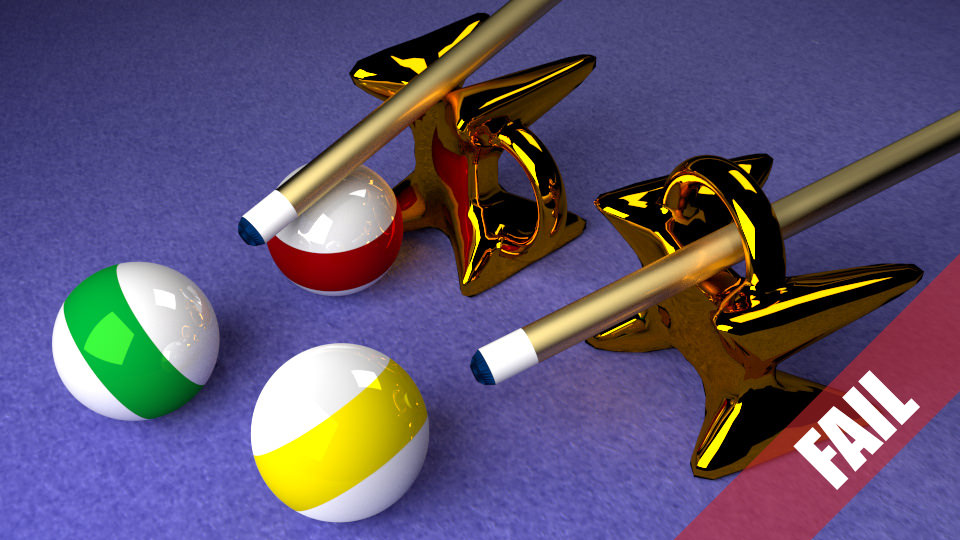
This was my first attempt and unfortunately was never printed. Although I’m almost positive it would have worked and satisfy all of my considerations, it taught me a valuable lesson in 3D printing: materials are expensive. Originally, I wanted to print it in metal, however, this particular model would have run upwards to $200+ because it is basically a solid mass. I tried to do things such as hollow it out and it did reduce the cost quite significantly, however, it still was not worth it in my opinion (even in hard plastic). My new mission was to find a way to make a functional bridge with the least amount of volume. I certainly might revisit this version as I am happy with the render.
V2: E.T.
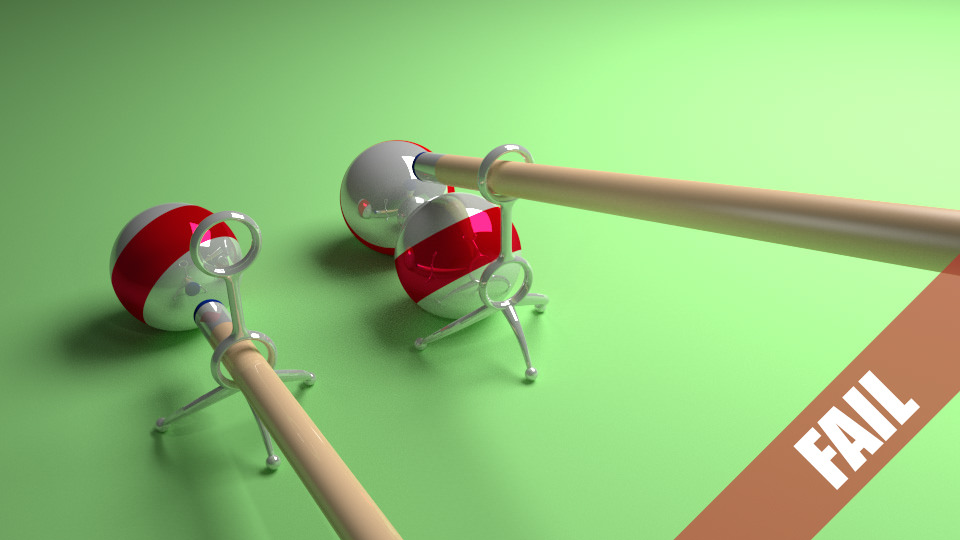
In this version I went to the other extreme and used the absolute minimum amount of volume that I thought I would need. I was extremely excited to receive it, but unfortunately, it was immensely unstable. Since it was so frail, it would move as you pre-shot and not provide enough support for your actual shot. However, I did like the diameter of the holes as it was the right size for me to pick up my cue and have it slide to about the middle of my cue – making it easy to move around the table with one hand.
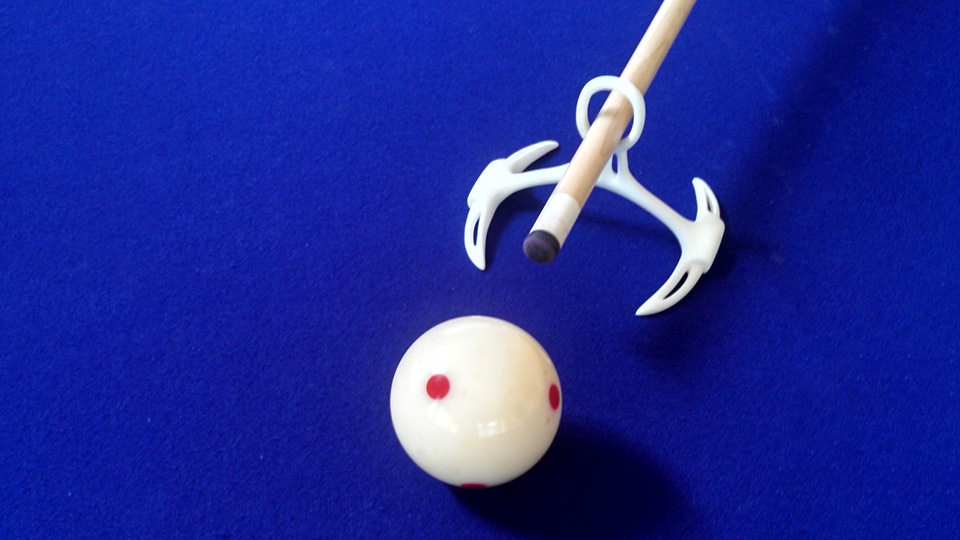
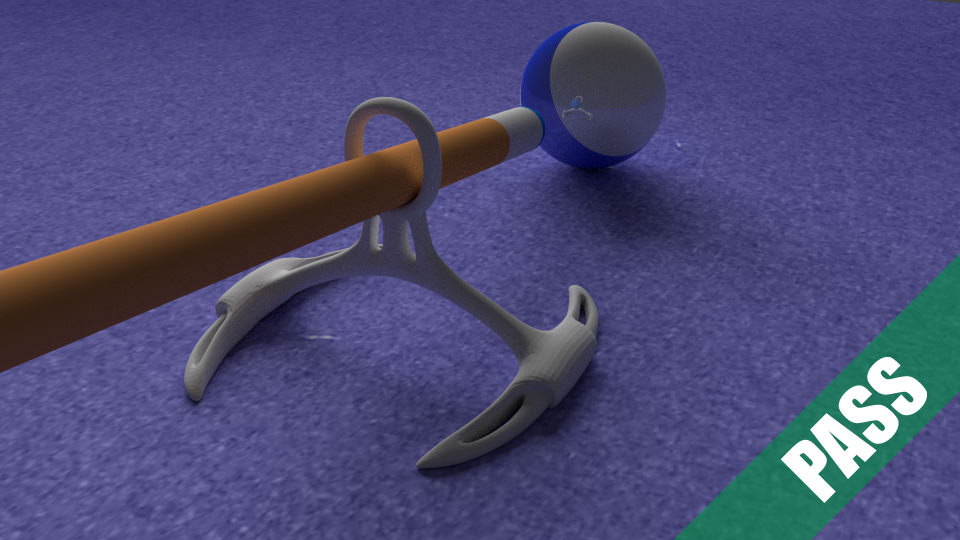
V3: Tooth
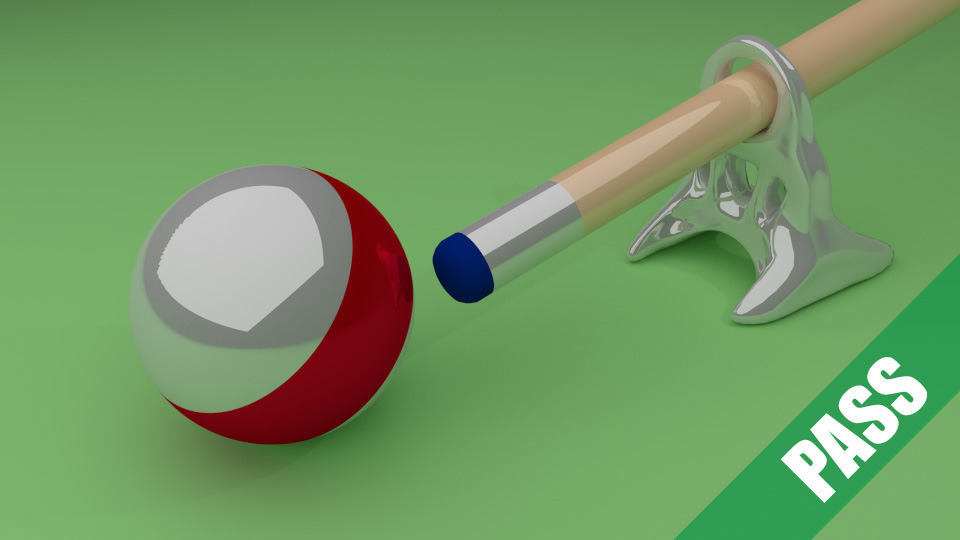
At this point, I just wanted something functional for my dad to use since he was in town and was enjoying playing when company was over. In this version, I pretty much had a good understanding of the required dimensions and how to minimize volume. I wanted to make this version more efficient than functional. I ditched the shooting over another ball concept and introduced holes for both aesthetics and to reduce volume. It worked extremely well and was easy to maneuver.
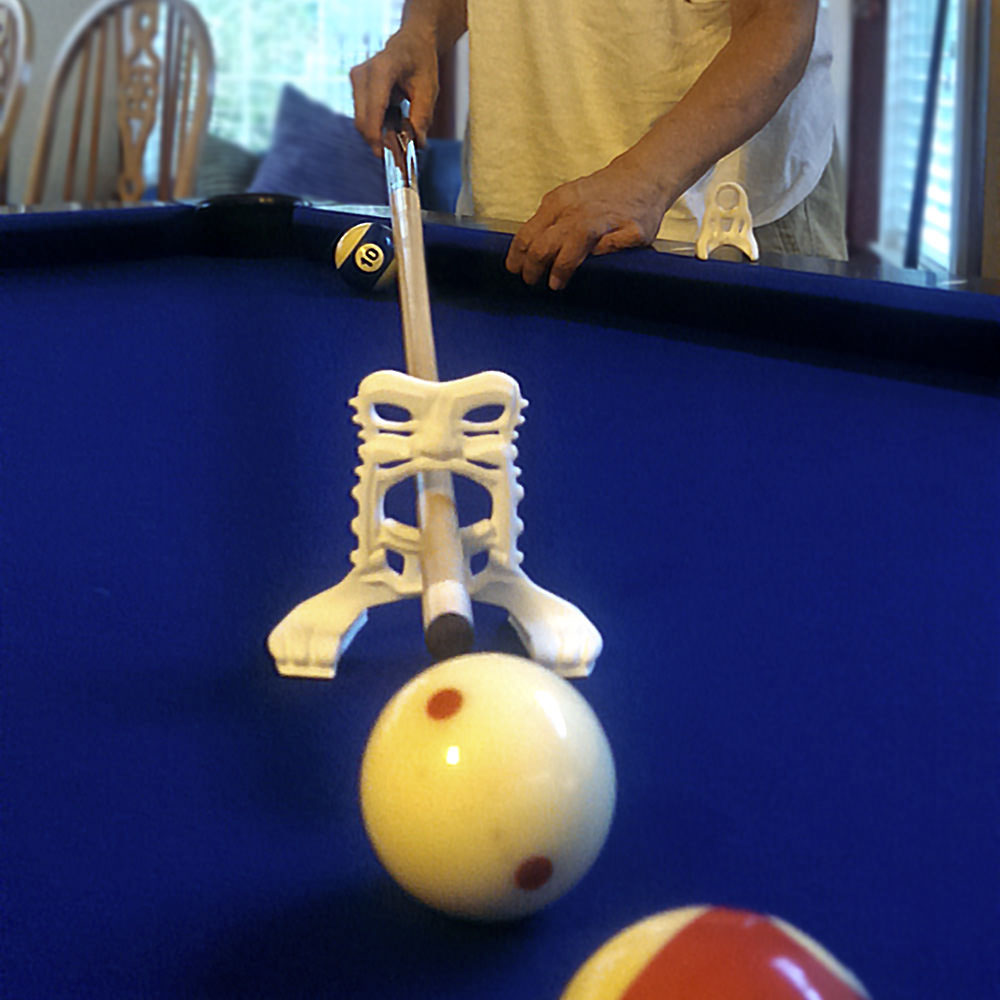
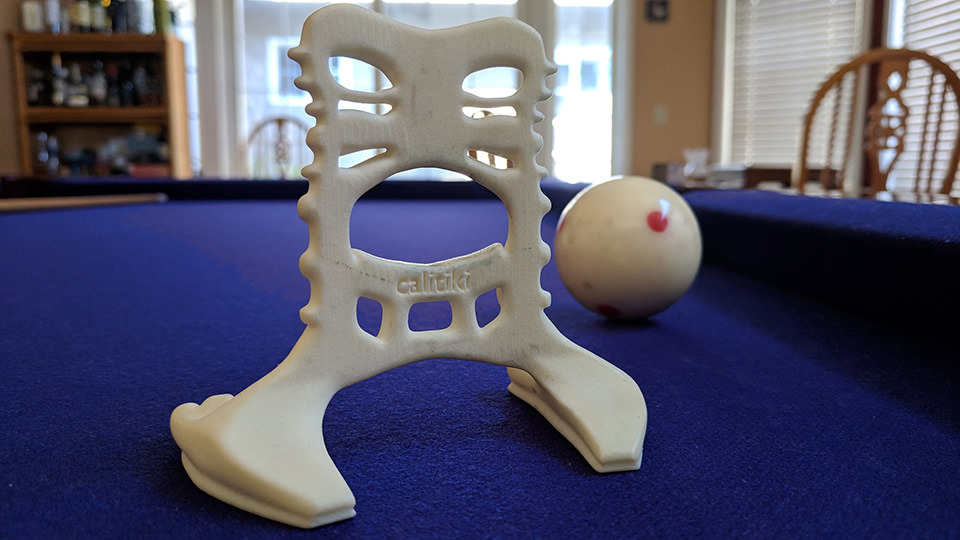
V4: Bone
After Tooth, I really just wanted to explore my other concepts. This version was heavily focused on stability and stable it was. It takes up a lot of real estate on the table, but it’s thin enough to not have any negative effect. It still cannot shoot over another ball, but after watching my dad use these prototypes, I realized that that just wasn’t as common of an issue as I thought..
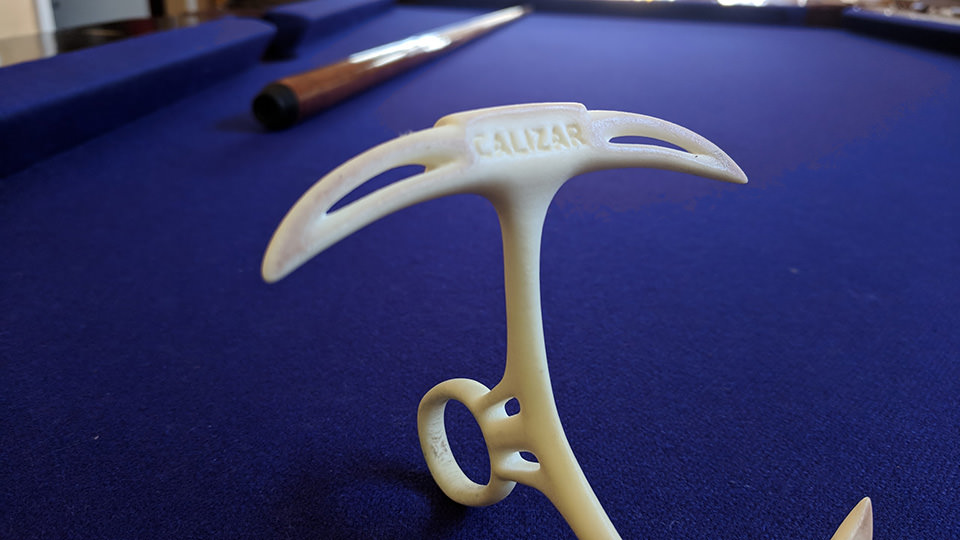
V5: Calitiki
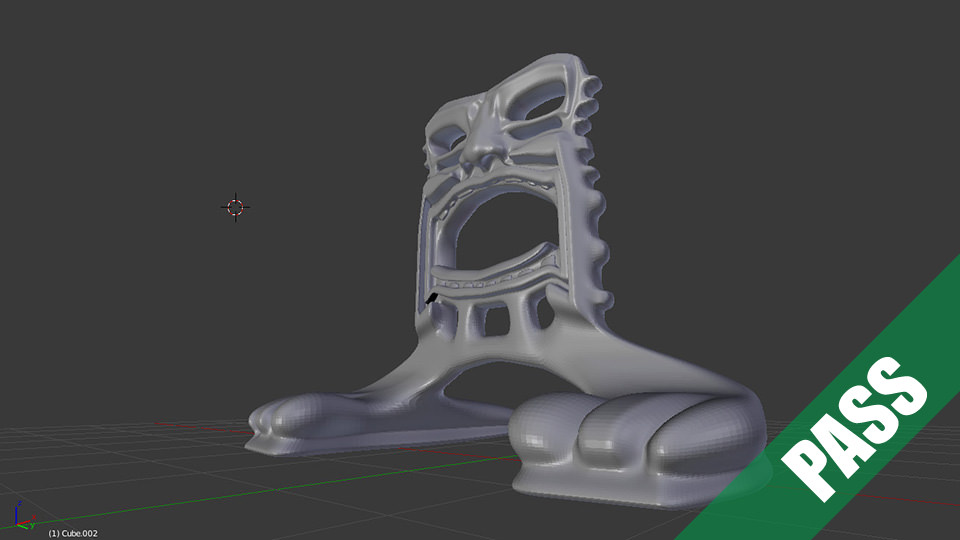
This was the last of the bridges that I created. Since my family is from Hawaii, I thought it would cool to make a tiki version. By this time, I had learned various tricks to reduce volume such as hallowing out thick areas, adding holes and indents, and making walls thinner. The mouth might look large, but the height is actually smaller than the diameter of the middle of a cue, so it can still easily be picked up and maneuvered around the table. It is also tall enough to shoot over another ball (placing the cue on it’s head), but it looses a lot of stability. Overall, this is our favorite one to use because it is very stable and looks awesome!
Final Prints
I used a 3D printing website to print my models. I simply had to upload my file, choose a material, and pass their validations. I used hard plastic as it was the most durable and affordable. We were excited to try them out and they worked very well. My dad couldn't have been happier as he could now play with us without being so hindered having to play with one hand.